How To Draw A Lego Batman Step By Step
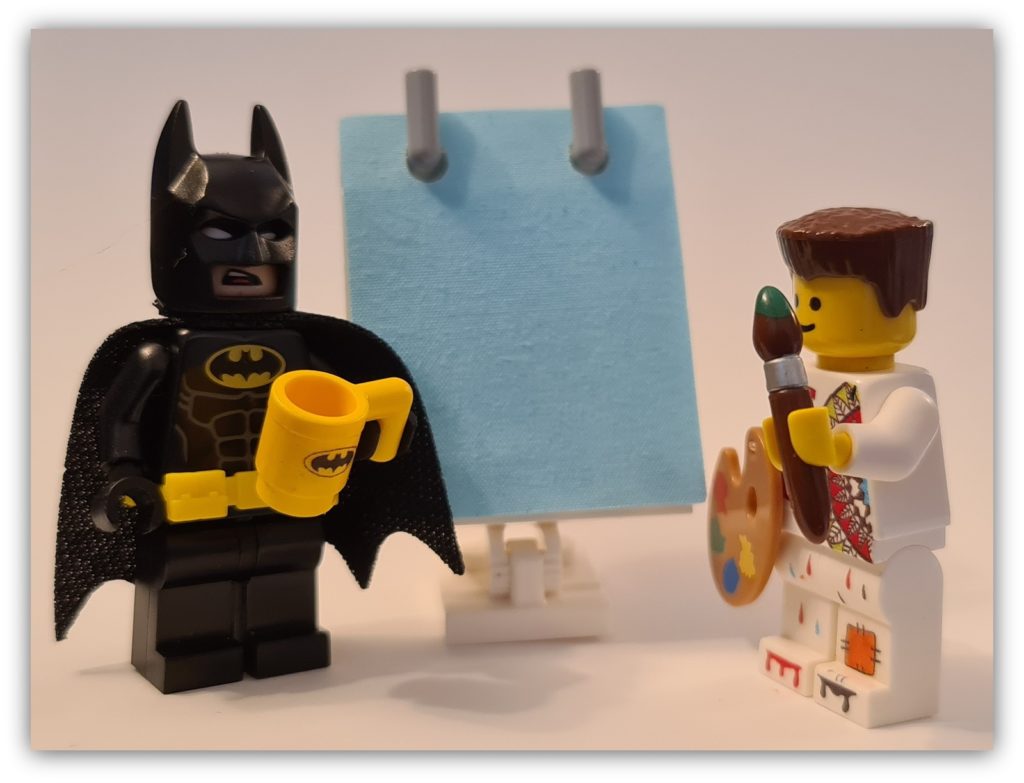
As a change to our normal content, in this article we will look at how you can draw LEGO Batman, although it will be more than just "drawing LEGO Batman" as we'll look at drawing in general, looking at the materials that are available to you and also some pointers should you want to have a go yourself.
Digital drawing materials
There are a number of digital drawing packages on both Apple, Windows and Android, and whilst I do use drawing tools to edit images, I can't quite get the hang of drawing direct to my tablets. It may just mean I need to practice more, but for now I work in pencils and ink.
You may find that apps such as GIMP (A free version of Photoshop), Pixlr and Picsart will help you tidy up your drawings (and even add a little extra!) once you've finished them before you share your creations on social media.
So, what do I use?
So, for the drawings in this article, I've used a cheap sketch book. The paper is quite resilient to heavy use of erasers. There are a lot of options that are available, such as card for water colours. The only thing you will find out is that each paper style will react differently to your ink; some will just soak up the ink and your thin line will "bleed" over a wider area.
I would always recommend starting with a pencil. I use a mechanical pencil so I don't have to sharpen it; but a normal "HB" pencil will work for sketching out your drawings. Oh, and have an eraser close to hand too. You won't need it all the time, but it will make life easier if you should make a mistake.
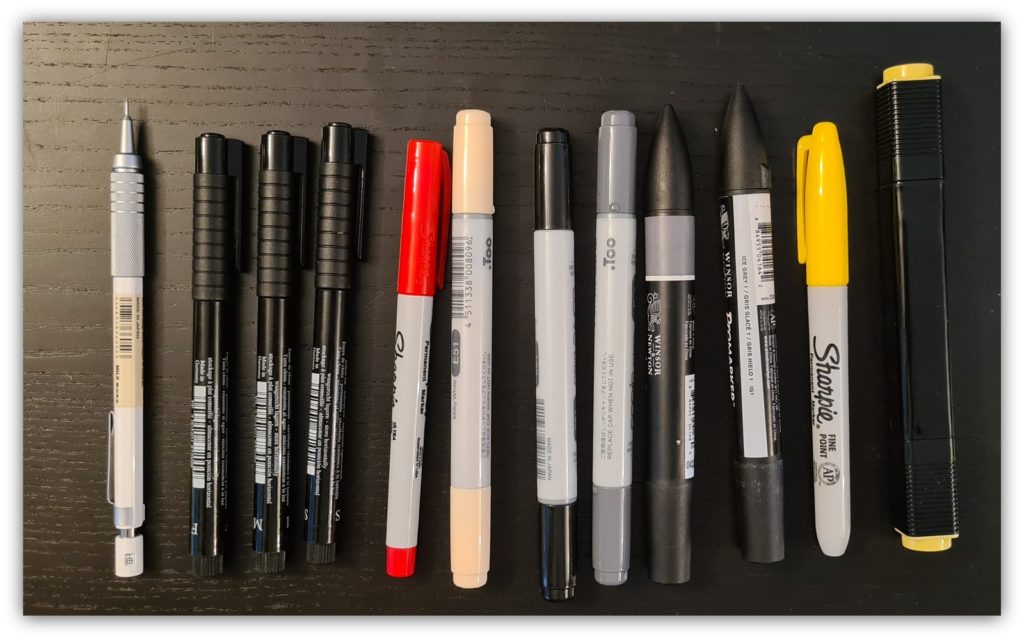
Once I've got the sketch completed, I'll ink the lines in. I have several different thickness black ink pens so I can start to get the effect that I want.
For colouring, there are a huge range of options. You could use coloured pencils, and there are many different styles of felt tip pen. I favour the "Sharpie" marker felt pen and Copic markers. The Copic markers give a more even spread of ink, but they are a little more expensive than normal ink pens.
Much as Batman said he only works "in black, or very dark grey" you can see the different types of pencils, pens and inks I used to draw LEGO Batman!
Can we start drawing now?
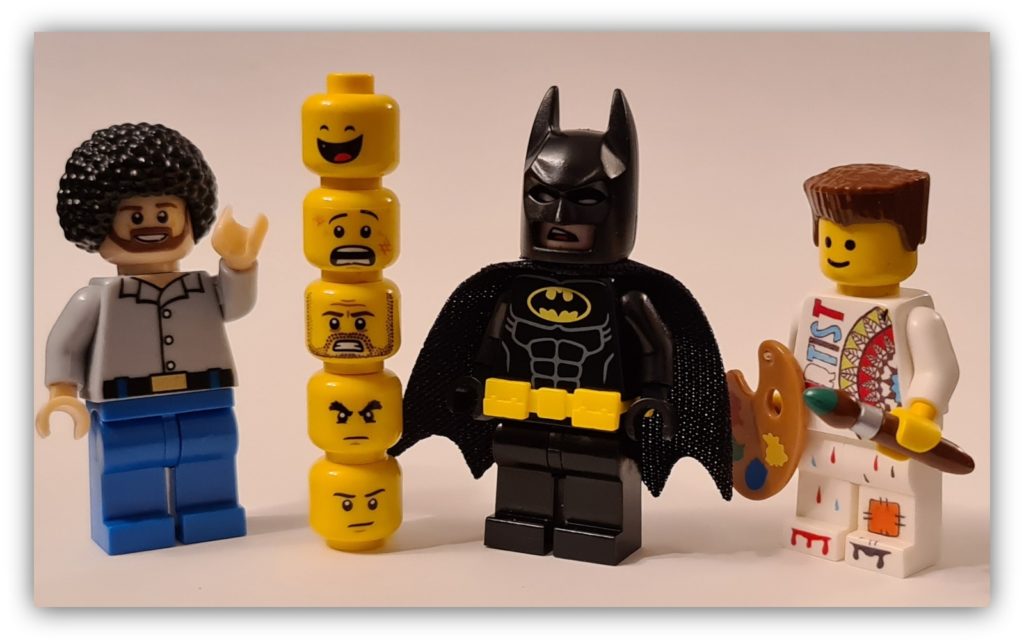
Before we dive into the drawing, it's worth spending a little time studying the subject matter. There are three reasons for this:
- It's good to remind ourselves of what we're drawing
- We can make note of any quirks and interesting features (such as ratios and scales) we need to think about when we draw
- Batman is a cool minifigure. Appreciate that.
In the image above, we can see some interesting points, such as the fact that LEGO Batman stands FIVE bricks tall (as we know, the standard LEGO figure is about four bricks tall. Noting that the rest of the body is the same, we can see that the difference is in Batman's head (I'm not saying anything here!). In terms of scaling, I worked out that (roughly speaking) the head, the torso and the legs are each a third of the overall height.
How to Draw LEGO Batman
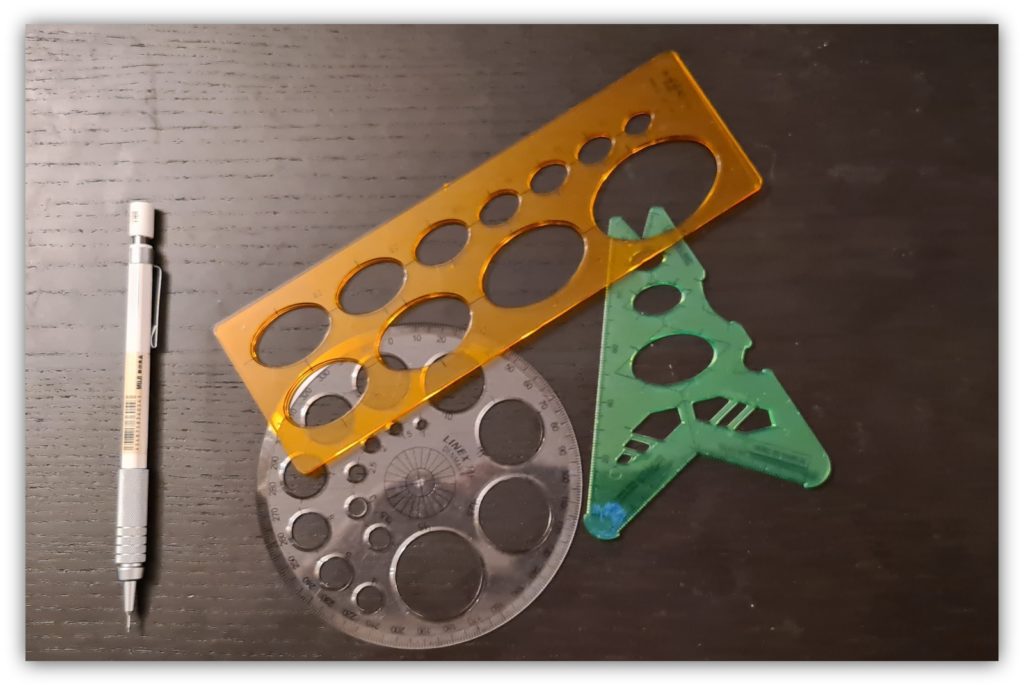
There are many images on the internet that will give you the precise measurements and radiuses of the standard LEGO minifigure. This is great if you do want to draw something precise (in which case, you'll probably find some of the gadgets I've shown above useful), but for what we're looking to produce here we can get away with rough measurements and estimates.
There are also blank templates of LEGO figures that will enable you to draw and colour your figures. This is useful if you are looking to create your own custom minifigure (my mini artist is such an example).
But we're going to add some dimension to our drawing; so, we'll turn our figure a little. This will mean we'll be looking at two sides of Batman and must think about shading. Okay, enough talking, let's pick up the pencil!
Stage 1: The head
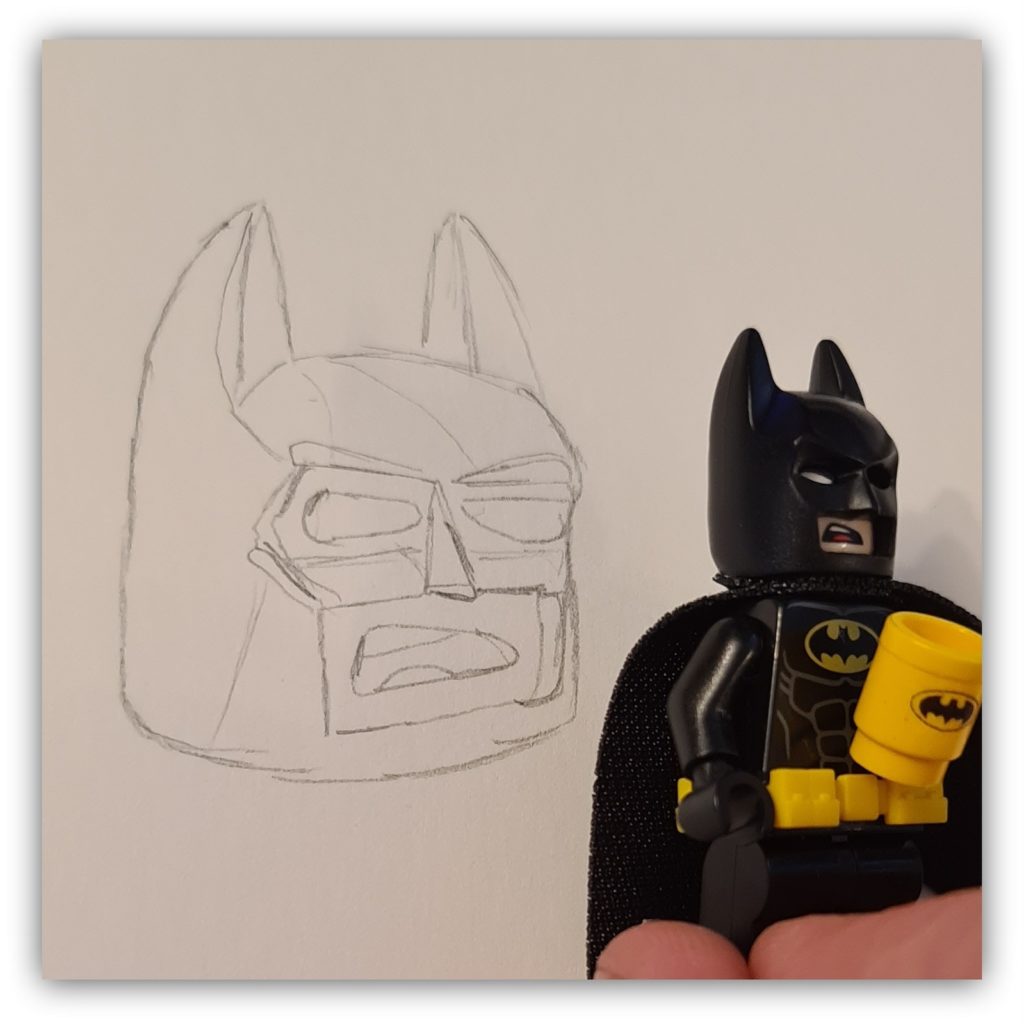
With our pencil at the ready, we are ready to start. Remembering that the head will take up about a third of our overall Batman, we start appropriately nearer the top of the sketch paper (otherwise, you'll run out of space!). I would also stress here that when you sketch the outline you want to keep the pencil light on the paper; pressing hard will create a crease in the paper. It will mean that if you make a mistake you won't be able to easily erase it and it may well stand out even when the pencil lead has gone.
Fortunately, the helmet is relatively simple to sketch. For me, having the figure close to hand means that I can check my work; also (and this is the way that I work) I imagine the figure on the paper, so for me it's like tracing the image.
Normally when we draw a head, the eyes are in the centre of the head, but if you take off the helmet from Batman, you'll see that his "Bat Eyes" are further up on his forehead. This sets the eye holes higher than we would normally do.
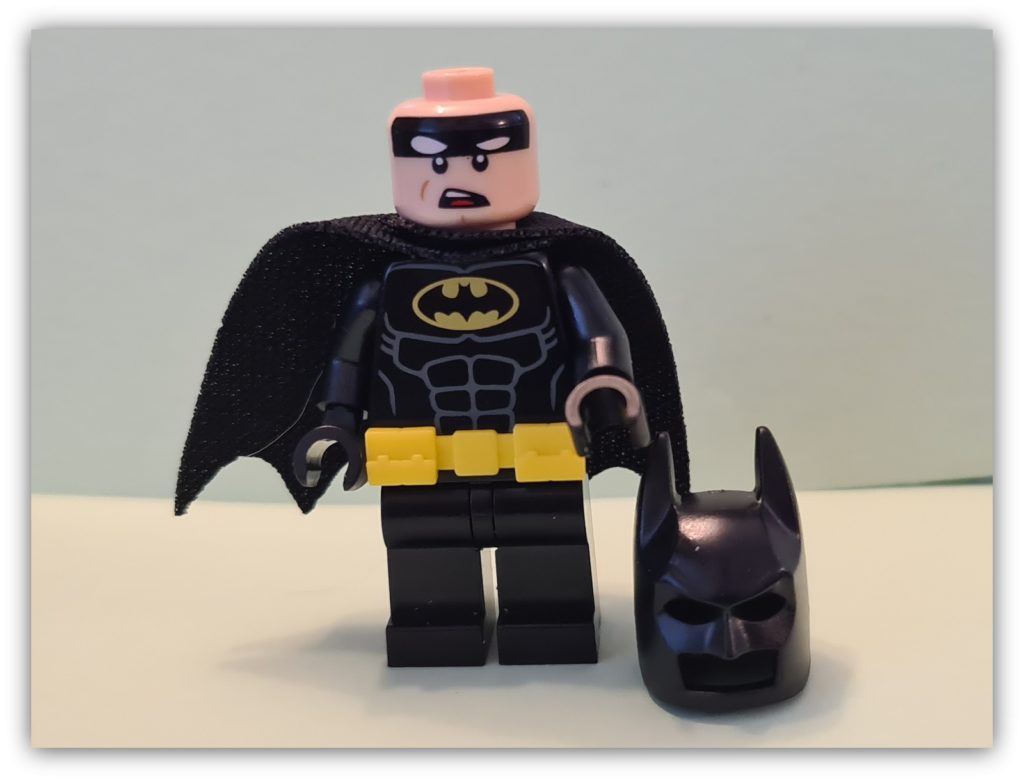
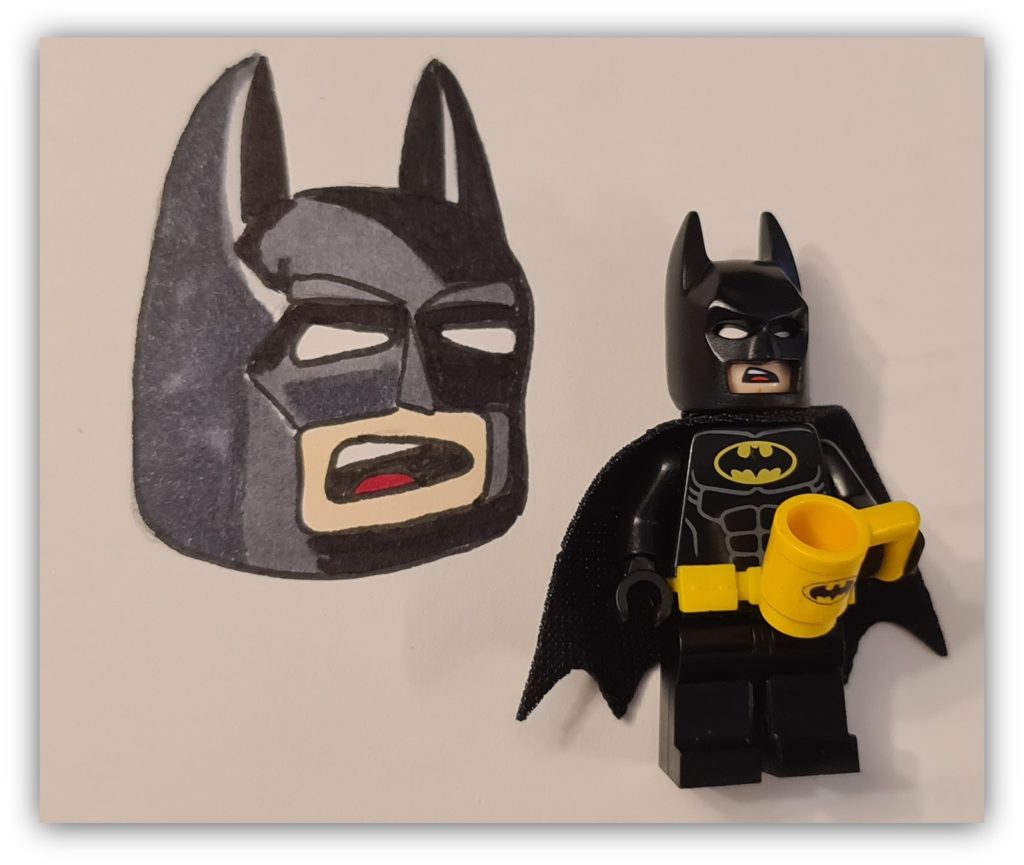
Once you've pencil sketched the head, it's time to ink and colour. I'd use a medium thickness ink pen to make the outlines and the parts where you want to show an edge; where you have a line for shading you can leave those as pencils.
Once inked, then onto colour. As you can see from my image below, I've used three shades of grey/black and left some parts uncoloured as highlights. And because this is a franchised figure, I was able to use a flesh tone rather than the standard LEGO yellow.
Get the Latest LEGO Sales & Deals
Stage 2: The body
The body is relatively straightforward to draw because it's so blocky. You can see from the sketch I've tried to keep straight lines (fortunately, my lines are pretty good; but I do sometimes use a ruler to make sure)
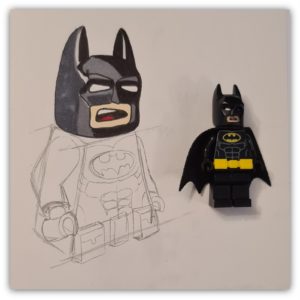
I've sketched the arm out, noting where the bend of the arm comes to. You'll have noticed that I also included the top of the leg section in this drawing; this is because Batman's belt covers this and I wanted to draw it in now, rather than later. The next stage was to draw out the chest pattern and the Bat belt.
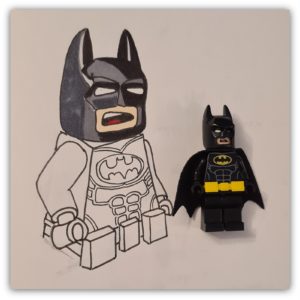
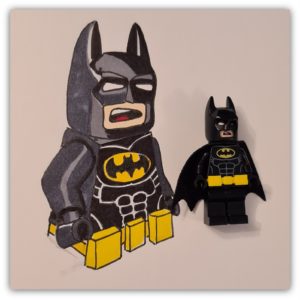
Once I was happy with the sketch, it was time to start inking. You'll note that where I had single lines, I have now doubled these up; that's so I can get the lighter lines to stand out. This is shown in the coloured outline. You'll also notice that the front of the torso and not dark grey; in hindsight I should have used the grey, but it's always easier to go darker than lighter. A lesson for next time perhaps!
Stage 3: The legs
When I started to draw the legs, I began to draw them as "normal" LEGO legs, including the curved front and the step in. However, I decided to use a little artistic license and put a bend into the legs to bring them to life. When drawing LEGO legs, don't forget the middle hinge point. Like the torso, the legs are blocks of colour; however, you will see in the coloured version that I have also included highlights and shadows to add some depth to the image.
Stage 4: The cape
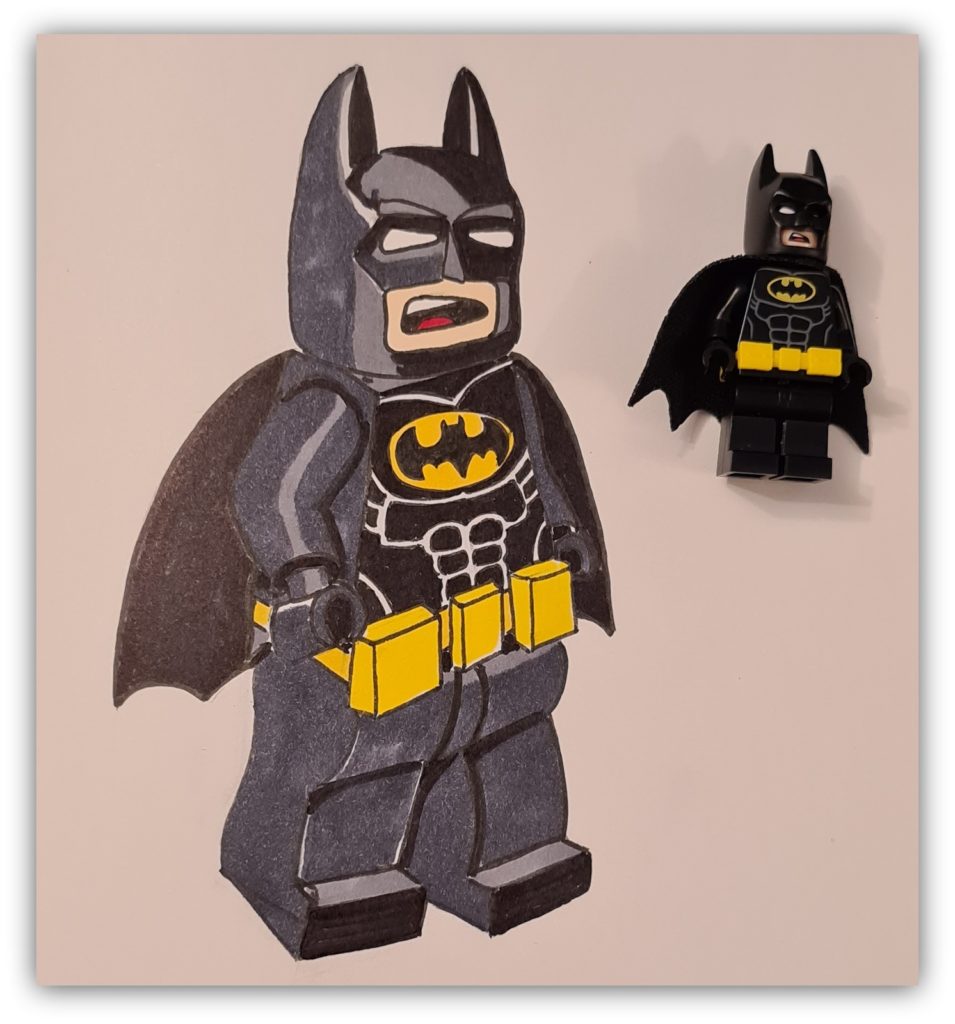
It was as I was finishing inking the legs that I remembered that last piece of Batman's outfit; his cape. Fortunately, this was a simple addition to the back of the image. As my Batman has a solid black cape, I decided to just use black ink to colour; as the arms were in dark grey it meant that the body was still visible. If I'd used black on the arms, they would have become invisible in a single black colour; there is a benefit in forward planning
Finally, the Batman had been drawn!
Playing with the image
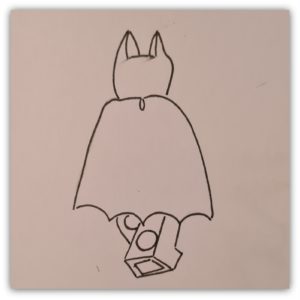
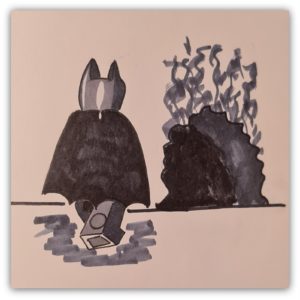
Once I'd finished drawing Batman, I started to think about other ways I could draw LEGO Batman. I had a go at drawing Batman walking away. As I started to sketch, I realised that the cape would cover most of the figure, so I started there, which made the whole drawing much simpler. I don't think it came out too badly!
As an aside here, you can see the difference between using a felt tip and a Copic Marker. The Cape was coloured using a felt pen, the dark inside of the cave was coloured using the marker.
Forgetting the rules!
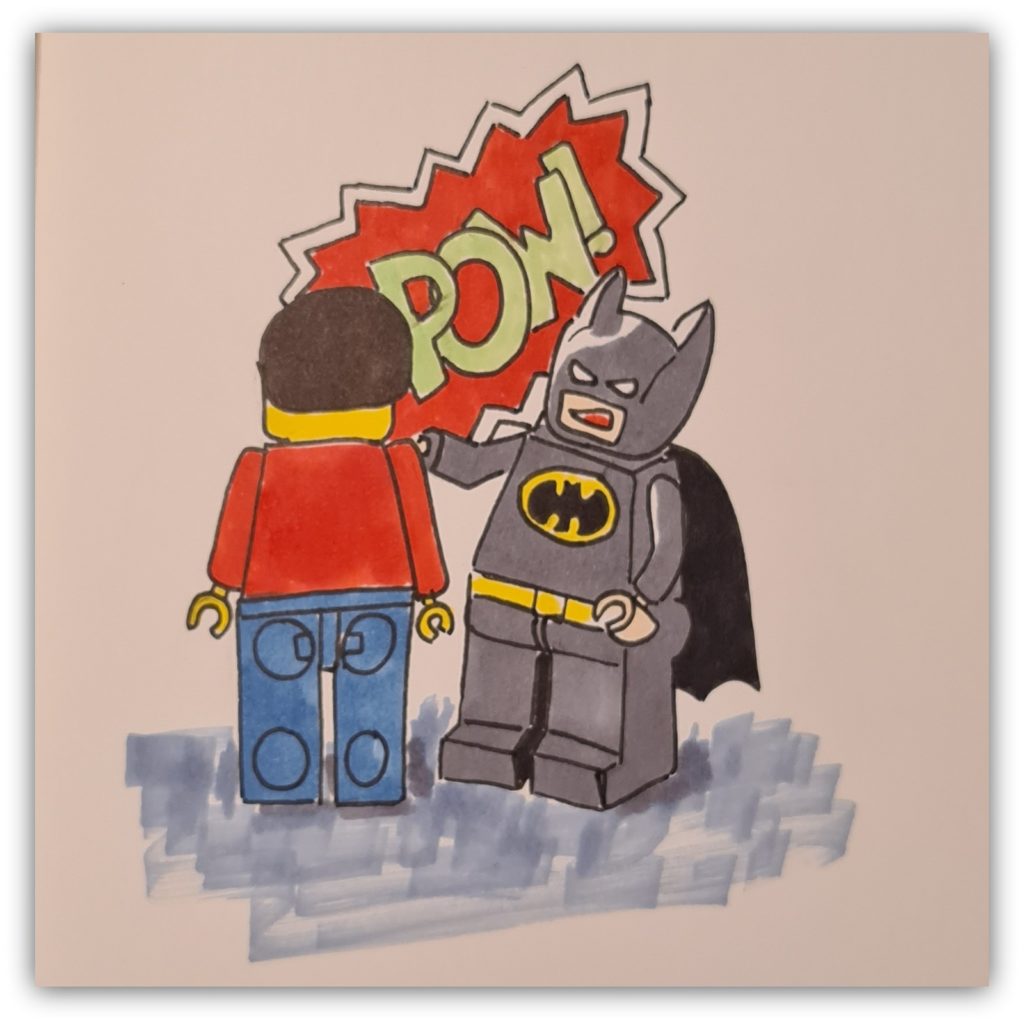
If you remember at the start, I said we needed to study the figure we wanted to draw. My reasoning for this was so that if you had a particular style of drawing, you could use that whilst you draw your LEGO Batman. Whilst the rules of proportion have been abandoned, you can still recognise that the figure in grey is LEGO Batman.
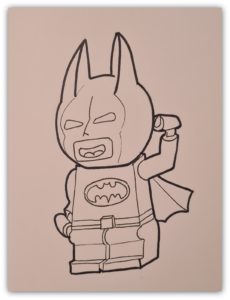
I also enjoy drawing cute manga-style figures, who usually have smaller bodies compared to their heads. Again, I decided to keep some of the features that identify LEGO figures (claw hands, square feet) and drew the Batmite. I've included a line drawing version here for reference!
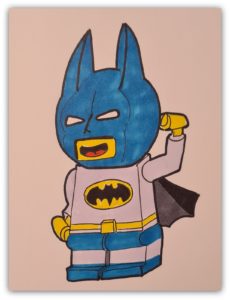
A final word about drawing and some tips
Apart from learning Technical Drawing at school (many, many years ago!) I've never formally learned to draw since. However, I discovered some excellent drawing guidebooks by Christopher Hart that have given me some of the tips and techniques to improve my drawing. Also, daily sketch challenges on Instagram have offered me the opportunity to apply creative thinking and practice drawing.
I've learned about how pens and inks behave with the different drawing papers through experience.
Have fun and I look forward to seeing what you can do! If you want to read more on LEGO Art, check out this blog post, too!
Get the Latest LEGO Sales & Deals
How To Draw A Lego Batman Step By Step
Source: https://blog.firestartoys.com/how-to-draw-lego-batman-a-quick-tutorial/
Posted by: presleralles1971.blogspot.com

0 Response to "How To Draw A Lego Batman Step By Step"
Post a Comment